Monday, 7 December 2015

Glitter christmas tree's with a stand

I have a fun project for you today. We are going to be making these cute little Styrofoam glitter Christmas tree's with a stand for them to sit on.


First of all what you will need is:

Styrofoam tree ( here in Australia I purchased mine from a $2 shop)
Glitter colour of your choice
pva glue with a little water added to water it down
A tin can cleaned and label taken off
some wide Christmas ribbon
hot glue gun and extra glue sticks
spray paint (colour of your choice)
bow of your choice.
paint brush or foam brush
A bamboo skewer or a tooth pick


(also some plastic throw away plates and some newspaper )

I started out by spray painting my tin can's with a silver spray paint. You will also want to spray the bottom of the tin can because that is what your Christmas tree will sit on. I did 2 coats of spray paint and gave it a few hours between coats to dry. 


Once it is dry cut a length of ribbon to fit around your tin. secure it on with hot glue and then place a ribbon at the top of your join also with hot glue. ( you are going to want the tin to be placed upside so that you have the solid base showing which will become the top of your stand and place the ribbon like so) set those aside for later.
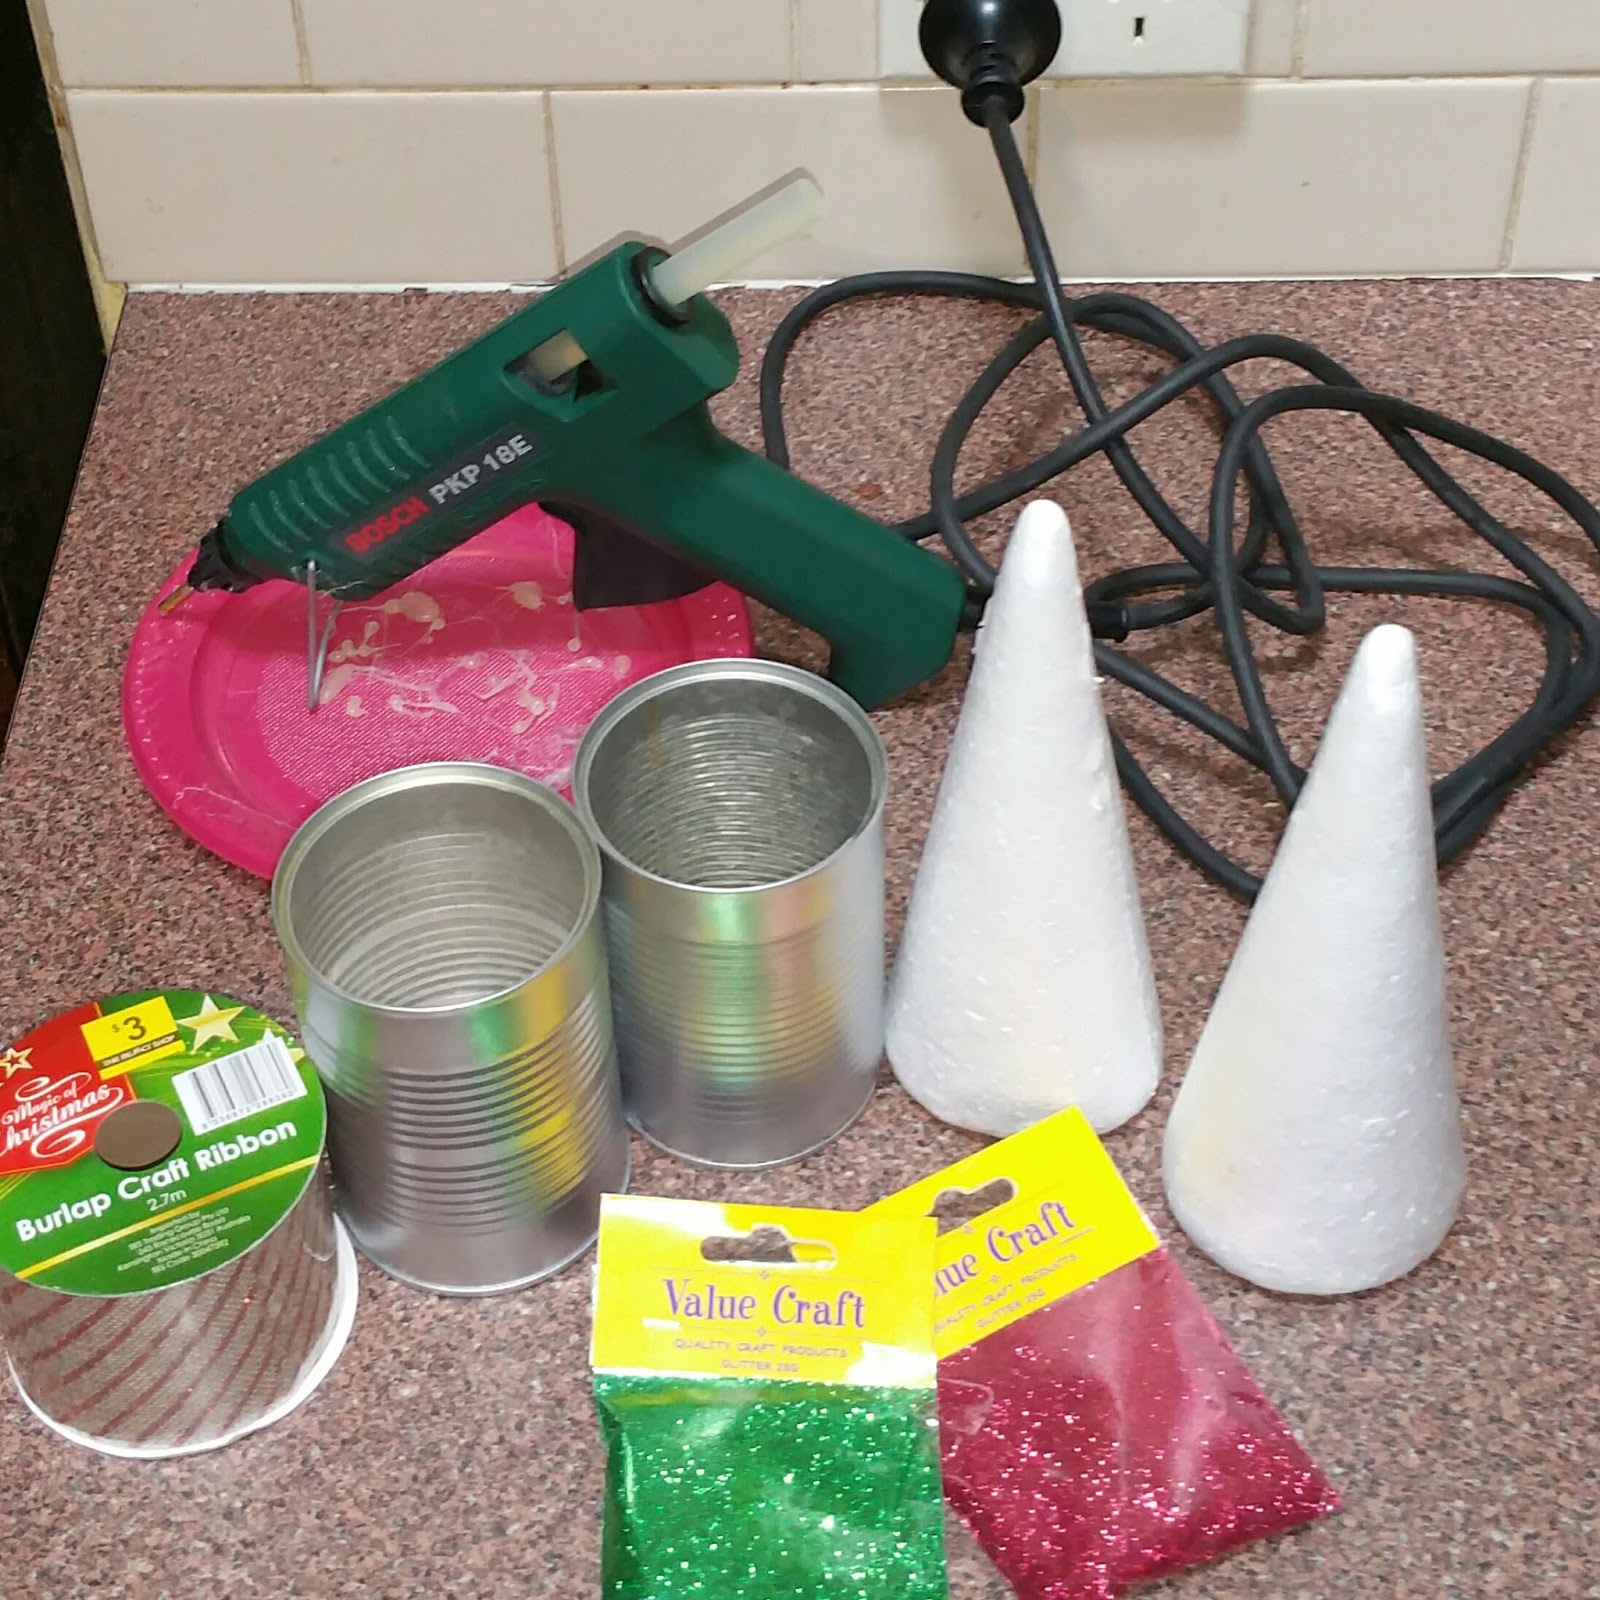


Then take your Styrofoam tree and poke a bamboo skewer or toothpick in the bottom end. Paint the tree with the watered down PVA glue then sprinkle your glitter all over so that it is completely covered. Stand them up somewhere so that they can dry overnight.


I then simply glued these with a hot glue gun to the base of the tin can.


Happy crafting.

Sunday, 6 December 2015

Vintage Window chalk board DIY

I have been dreaming about making this for so long now and I have had the old vintage windows sitting around just waiting for me to do something with them. We found them over a year ago in a curb side clean up and my plans have changed several times as to what I was going to make with them.


What you will need:

 An old vintage window or you could always buy a picture frame.

Chalkboard paint

chalk

A large bow and some extra ribbon (and any  other decorations for decorating)

Hot glue gun and glue sticks

Scissors

Paint brush

Masking tape

ESP - which is a product similar to primer to prep any surface like glass so that paint will stick.

----------------------------------------------------------------------------------------------------------------------

Start by making sure that your window is extremely clean. I then used a product called ESP (easy surface preparation) to prepare the surface. You wipe it on with a clean cloth and leave it for five mins then go back and wipe off any excess. Once you have wiped off the excess leave for 90 mins before painting. Then masking tape off your outside edges of your frame like so (or anywhere you don't want the chalkboard paint to touch).


Then paint your glass of your window with the  chalkboard paint. You will need to do 2 coats of paint, letting them dry between each coat. I then let mine dry for a good couple of days overnight before decorating it and writing on it. I also decided to paint the edge of my frame with turquoise paint I only used one coat of this but you could leave it the vintage look. (which I originally planned on doing but some of my chalkboard paint seeped through the tape).


Once it is ready for decorating, hot glue your large bow  and any other ribbon and decorations of your choice to the top of one side.


Then all you need to do is add your message with chalk to your new chalkboard.


Enjoy. XOXO

Saturday, 5 December 2015

Sunday Funday

Last Sunday the 29th November my youngest  daughter  Chelsea came to spend the day and night with me. We had so much fun and I took the opportunity to get help with putting up our Christmas tree. We put on some Christmas movies through the day as we put the tree up (my all time favourite Christmas movie is Christmas with the cranks)  and decorated it and we had a blast together. I forgot how much fun it was to put the tree up with someone else as the last several years I have done it on my own. Of course we also had our kitty Jasper help us (not really but in his mind he was helping) in which he has almost destroyed the Christmas tree now.


After we accomplished putting setting the tree up we moved onto attempting to decorate a gingerbread house. I say attempted because we bought the kit form big W but the icing consistency wasn't the best so we ended up decorating the pre cut biscuits and we sampled them just like that. But all in all it was fun and for me it was more about building the memories  with my daughter.


We then spent the night watching some more good old favourite Christmas movie's and chatting away with the Christmas lights going in the background.  I love building these kind of memories with my kids and making new traditions that hopefully we can do each year.


I would love to know what traditions that any of you have each year. Whether it's a long standing family tradition or something that is a new tradition.

Thanks for reading and hope you all have a lovely weekend.

Friday, 4 December 2015

Christmas bauble wreath

Today I have a fun tutorial for you. We are going to be making a "Christmas bauble wreath".
For this project the supplies that you will need are:


Supplies:

lots and lots of Christmas baubles
a wire coat hanger
a hot glue gun and some extra glue sticks
Christmas ribbon or ribbon of your choice


To start with you will need to undo your wire coat hanger and shape it into a circle as best as you can. Like you can see in the picture below.


Once you have shaped your coat hanger you can go ahead and  glue all of the tops onto your baubles so they don't fall off later on.

Once you have done that you can start to thread your baubles onto your coat hanger like so.


At the beginning you will have to kind of thread them on to get past that first part of the coat hanger. then just keep adding your baubles until your coat hanger is full from start to finish of where you untwisted it.


Then you will need to twist it back up again and the top hook of the coat hanger becomes your hanger for your wreath. If you wish you can tie a bow around this part to hide it like so.


Hope you have fun with this tutorial. Happy Christmas crafting.

Thursday, 3 December 2015

A quick christmas quilt

It's that time of year when as a patchworker I am madly working away on Christmas quilts and quilty decorations for the house. Time always seems to fly by and I never seem to have enough time to finish everything that I want to make, so when I was sent this gorgeous 12 days of Christmas panel as part of a swap I instantly knew I wanted to turn it into a quick Christmas quilt for this year.


I simply added 2 large border's to the panel to make it large enough for a lap size quilt and then I quilted it up using the serpentine stitch on my sewing machine. I love how it turned out and it only took me about a week from start to finish. So if you are like me and are time poor this time of year (which I think most of us are) and you really want to make yourself a Christmas quilt or a quilt as a Christmas gift then why not take a look at using a panel. They really are fun, effective and quick to put together and you have something wonderful to treasure at the end to keep or as a beautiful Christmas gift for that someone special.

Wednesday, 2 December 2015

Tis the season to decorate

We have now hit December and it's that time of year to get the Christmas decorations out and start the decorating process. So come along with me and I will show how I have decorated my house so far  for Christmas.


My lounge room is the room where I do most of my decorating. We only have a small house and our lounge room is quite small but I still try to pack as many decorations in there as I can without making it look overdone.

 I am lucky enough to have a fireplace in my lounge room which is a great place to decorate. I love to use a garland on my fire place mantel which I always put on first then I add my other decorations around it. This year I made the 3 Christmas scene's in a jar and I love how they look on my mantel. I purchased this Christmas wreath from goodwill and I pulled off the red bow's that were originally on it and replaced it with some battery operated star lights and some bunches of red berries and I love how much better it looks now. I have also added this glass salad bowl full of painted pine cones and I love the impact it has given to the rest of the decorations that I have displayed on the fire place.


I  added a large cane basket and rolled my Christmas quilts up and put them in the basket and it makes for a nice cosy look right beside the fire place.


Then we have our Christmas tree. This year I decided to leave the Christmas lights off and added deco mesh because our kitty likes to trash the Christmas tree and I love the look of the deco mesh. You can find a tutorial HERE if you would like to learn some great tips on how to attach the deco mesh to your tree. I also then kept the ornaments to a minimum because the deco mesh gave such a great impact that I didn't need to go overboard with them.


On my T.V stand I have used my tiggy twinkle lights that I blogged about HERE and some Christmas smelling Yankee candles. I kept the rest of my decorations on here small to let the twiggy twinkle lights be the stand out.


In my dining room I displayed one of my Christmas quilts on the wall using a curtain rod and some clip hooks. This is a great way to show off all your Christmas quilts and you get to use them as part of your decorating. We put so much hard work into making them so why not display them for everyone to enjoy.


I still have some more decorations to make to add around my house so stay tuned for some more crafting tutorials through the rest of this month.

Tuesday, 1 December 2015

Fish bowl christmas scene with lights

Today we will be making a spin off from yesterday's craft project. These cute Christmas scene's but this time instead of using the lolly jars we will be making them in these fish bowl's and adding some light's to them for a different kind of affect.


YOU WILL NEED:

Fish bowl

fake snow

a Christmas tree decoration

an ornament (I used a reindeer in mine)

and some battery operated lights


 First of all wipe your bowl out so that it is free from dust and any film that may be on the glass. Then pour in a good amount of the fake snow. ( I poured some in then added in my lights and added some more snow so that some of the lights were covered in snow). Then place in your Christmas tree and ornament and turn on your lights.


I really love how these look grouped together with the lolly jar ones from yesterday's blog post.Hope you enjoy this quick little project and have fun making some of your own.