Today I have a tutorial for the mini plant pot pincushions that I have made throughout the year. These little pots are so cute and I picked them up from Daiso Japan here in Australia where everything is $2.80. They have so many to choose from and you can probably get some other cute ones from Kmart or other $2 shops. You can also use cute mugs, egg cups anything of your choice. This is your project so get creative and make it your own. This is what one of mine looks like.
For this project the supplies you will need are:
Supplies:
1. Pot or jar of your choice
2. polyester fibre fill
3. marking device (pen or pencil is just fine)
4. round template big enough ( I usually just use a plate or something from the home)
5. fabric of your choice big enough to cut your circle from
6. needle and thread ( I like to use perle 8 thread because it is stronger but you can use normal sewing cotton)
7. scissors
8. optional hot glue gun and hot glue sticks
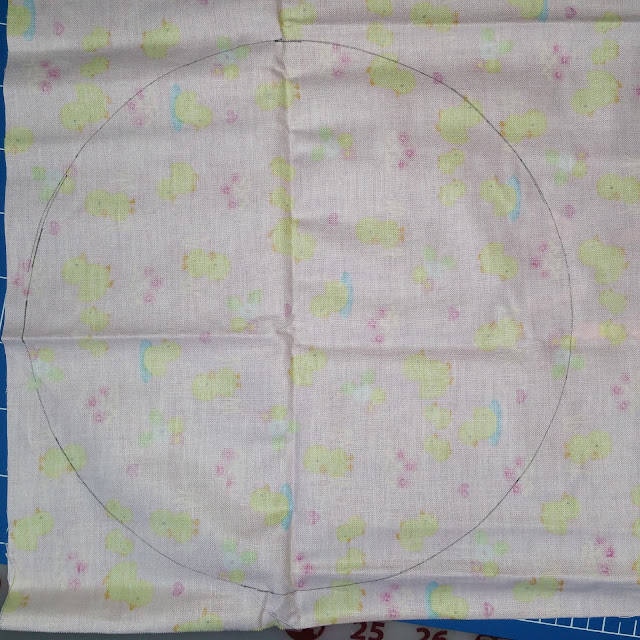
I start by tracing and cutting out a circle big enough to fit my pots. You will need a circle around double the measurement of the top of your pot.
Cut around your circle and then take your needle and thread. (I like to use perle 8 thread because it is a little stronger but you can also use your sewing thread doubled over). I start by doing large running stitches around the edge of the circle about 1/2cm inside the edge and go all the way around the till you meet up with where you began stitching.
Then leaving your needle and thread still attached, make sure it is sitting on the outside of the circle and start putting your fibre fill in the middle of the circle. Fill it until it is as full as you can get it and along the way start pulling on your thread ( the end with the needle attached) to gather it up like so.
Once it is full to your liking you can pull the running stitch as tight as you can get it and knot it off securely.
Then you are going to put some fibre fill inside the bottom of your pot so that once your fabric pincushion top goes on it doesn't fall through.
Just keep testing it by putting your fabric stuffed circle that you have made on top and pushing down on it to make sure that you have enough stuffing inside your pot.
Now the next step is optional. On these particular ones I didn't need to do this step but on other ones I have had to. You can run a bead of hot glue around the very top inside of your pot before you pop the top of your pincushion in there to hold it into place. (you will need to work quickly as the hot glue dries very fast) but it will hold it in place very securely.
Once you let your glue dry for a minute your cute little pincushion is complete.
And here are some others that I have made. So I hope you have fun giving some of these a try.
Take care lovelies and have the most amazing weekend (long weekend if you are in Australia)


No comments:
Post a Comment